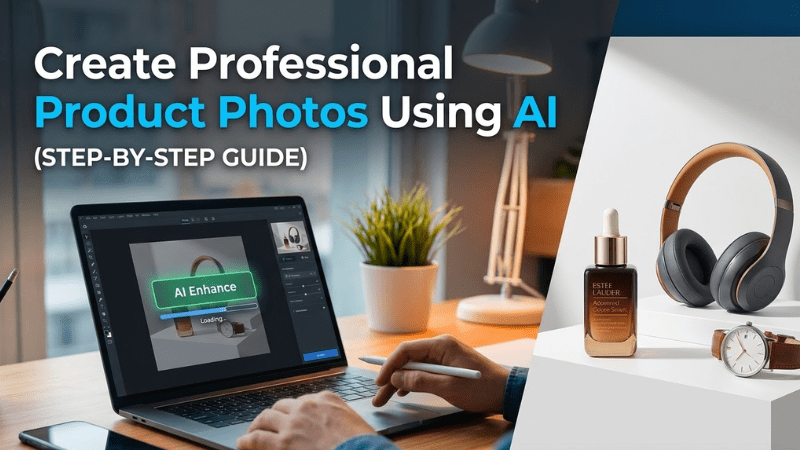
Good product images sell. That has been true since the first online store went live. A well-lit product photo with a strong composition and a nice background can give your product the high-end look it deserves. Poor images do the opposite.
The problem is that traditional product photography usually involves studio lights, cameras, editing software, and a lot of patience.
Most small brands don’t have time for that.
That is where AI tools like Designkit come in. The platform lets sellers create polished product visuals with very little setup. No need to organize a full photo shoot. Just upload a product image and let the smart image tools work their magic.
This guide breaks down the process step by step. No studio required.
What Is Designkit and Why Use It?
Designkit is an AI-powered e-commerce design tool developed by Meitu, Inc. It is designed for online sellers, not graphic designers or photographers. You don’t have to know about lighting ratios or color grading. You just upload your image, say what you want, and AI will take care of the rest.
Its AI product photography generator takes whatever photo you have, even a picture taken with your phone with a messy background, and turns it into a professional image in less than 10 seconds. The AI analyzes your product type, material, and visual properties, and suggests scene options that make sense for your product.
A ceramic mug gets cozy kitchen vibes. A skincare bottle gets clean, clinical minimalism. A candle gets soft Nordic lighting. It’s not random.
Designkit also exports at up to 4K resolution with full texture preservation — fabric weaves, metallic surfaces, food textures — without distorting the product’s shape, color, or proportions. That’s a detail a lot of AI tools get wrong. Designkit doesn’t.
Step-by-Step Process to Generate Professional Product Photos with Designkit
Step 1: Take Your Starting Photo 
This is probably the most thought-over part. You don’t have to use a DSLR. You don’t have to use a light box. A good phone photo in good lighting is more than enough for this.
Here are a few quick tips to give the AI better material to work with:
- Shoot in daylight or near a window. Natural light picks up texture better than harsh artificial light
- Keep the product in the centre of the shot, avoid clutter or distracting props
- Eye level or slightly above, depending on your product type
- Clean the product before shooting, smudges and dust will show up and the AI won’t always catch them
That’s it. Seriously. You don’t need a ring light setup or a seamless white backdrop. The AI is going to handle all of that anyway.
Step 2: Go to Designkit’s AI Product Photography Generator
Head to Design Kit Product Photography Generator. The sign-up process is straightforward – and you get 20 free credits with your first login. You can use these to test out a few products and see how you get on before committing to a paid plan.
The interface is clean and easy to use – just drag your image in or browse to find it on your computer. And yes, they do support batch uploads if you need to process a whole batch of products.
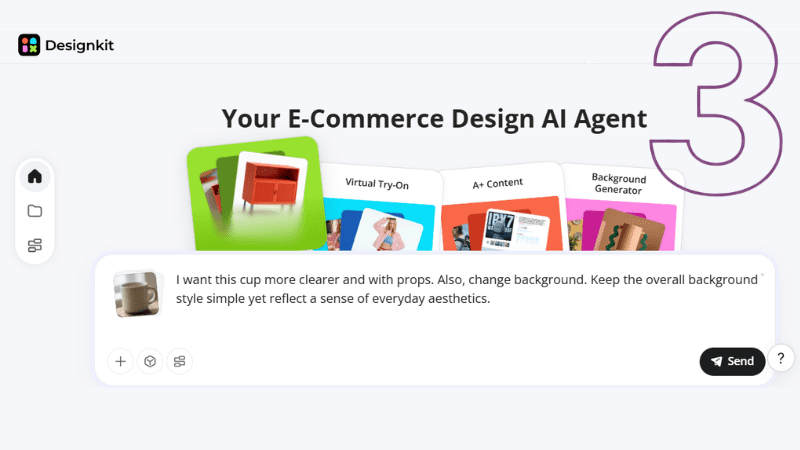
Step 3: Add a Prompt
Start typing right after the picture loads into the tool. A text field appears – this space waits for your words about what kind of visual you have in mind. It works like handing over a mental sketch. Share details freely; clarity shapes results. What you describe guides how it forms.
Examples of prompts that work well:
- “Minimalist white studio background with soft shadows”
- “Cozy kitchen counter with morning sunlight”
- “Luxury skincare scene with marble surface and soft lighting”
- “Modern tech desk setup with dark background”
You don’t need to write a paragraph. One clear sentence is enough.
Step 4: Generate the Image
Just hit generate. The AI goes to work in the background. It rapidly removes the background. Then it composites the scene and optimizes the lighting. This process takes about 10 seconds.
After that, in just a few seconds, it suggests 3 to 5 scene options specifically for that product.
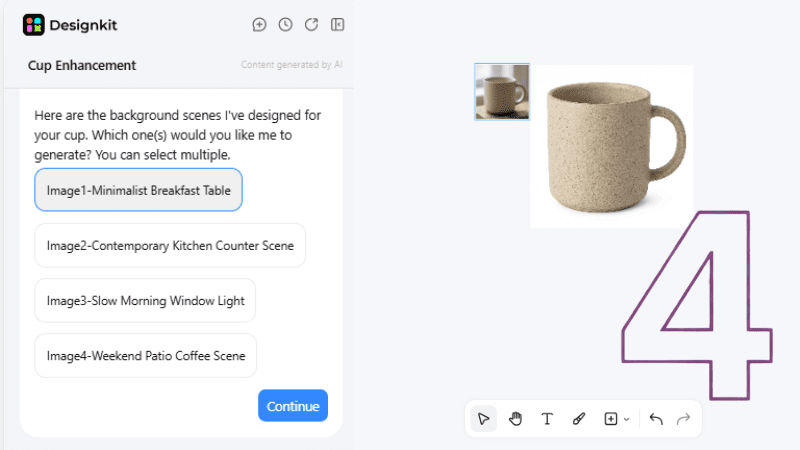
You don’t get scenes based on generic templates. The scenes are generated based on what that product is in particular.
Step 5: Review & Adjust
You’ll get the result on screen. If it’s not quite right, you have a few options:
- Regenerate with the same scene for a different composition
- Edit the scene description and try a new direction
- Adjust specific elements directly in the concept table – useful if you want to tweak something without starting from scratch
Step 6: Export at the Right Resolution
After you’re satisfied, you can export your design. Designkit offers 1K, 2K, and 4K resolution options. For most e-commerce platforms, 2K is the practical sweet spot – it hits Amazon’s image requirements comfortably and stays under typical file size limits.
Worth noting if you’re working through a big catalog: batch downloads are also available. So, you can generate images for loads of products, then download them all at once instead of having to do each one individually.
What Each Output Format Is Actually Good For
| Output Type | Best Used For | Recommended Resolution |
| White background main image | Amazon, eBay, TEMU main listing | 2K–4K |
| Lifestyle scene | Secondary images, social ads, Shopify banners | 2K |
| Flat lay / overhead | Etsy, Pinterest, fashion accessories | 2K |
| Detail/texture close-up | Product pages, A+ content, trust-building | 4K |
| Multi-product bundle shot | Bundle listings, gift guides, promotions | 2K |
Who This Workflow Is Actually For
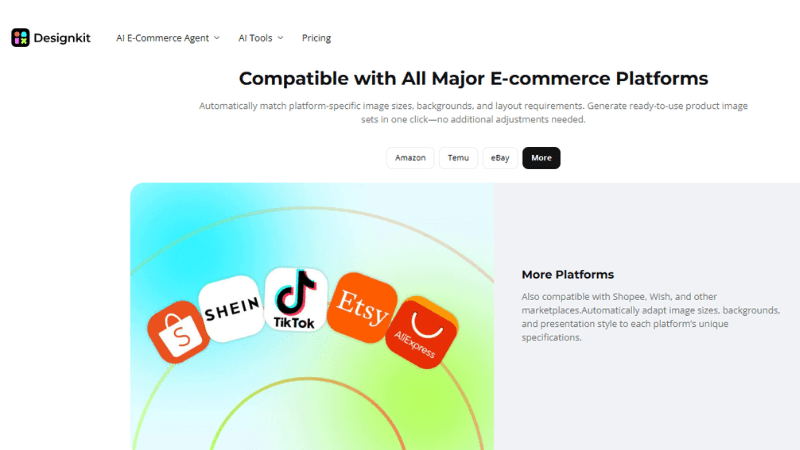
Designkit’s AI product photography setup works well across a pretty wide range of seller types. Small and medium sellers get studio-quality photos without the cost of a professional team. E-commerce operators and designers cut down the time spent on repetitive background removal and manual compositing.
Cross-border sellers get the localization features — the AI can adapt visual style and even model ethnicity to match the aesthetic preferences of specific regional markets, which is a genuinely useful feature when selling across Amazon US, Amazon Japan, and Mercado Libre simultaneously.
The free tier is generous enough to test it properly. Twenty credits, no credit card required. If the output quality checks out for your products — and it usually does — the Basic plan at 500 credits per month covers a reasonable catalog volume without breaking the budget.
Good product photos are one of the highest-leverage things you can fix in an e-commerce business. The tools to do it properly are cheap and fast now. There’s no good reason to keep using the garage shot.
Why Designkit Works Well for E-commerce Sellers
Many tools generate images. Designkit focuses specifically on product visuals for online stores. That difference matters.
The platform supports:
- Marketplace-ready product photos
- Lifestyle image generation
- fast product scene creation
Sellers can generate visuals that match the style commonly seen on Amazon, Shopify, and Etsy listings. This helps products look familiar to shoppers. Which builds trust. And trust helps conversions.
Final Thoughts
Creating polished product photography used to require a full studio setup. Cameras. Lighting.
Editing software. Now a simple product image can turn into multiple styled photos in minutes. Platforms like Designkit make the process simple enough for any online seller. Upload the product, generate a scene, adjust lighting, and export the final image. Done.
The real advantage comes from speed. Sellers can test new product visuals quickly, refresh old listings, and build entire catalogs of images without setting up a camera. For e-commerce brands moving fast, that flexibility makes a big difference.