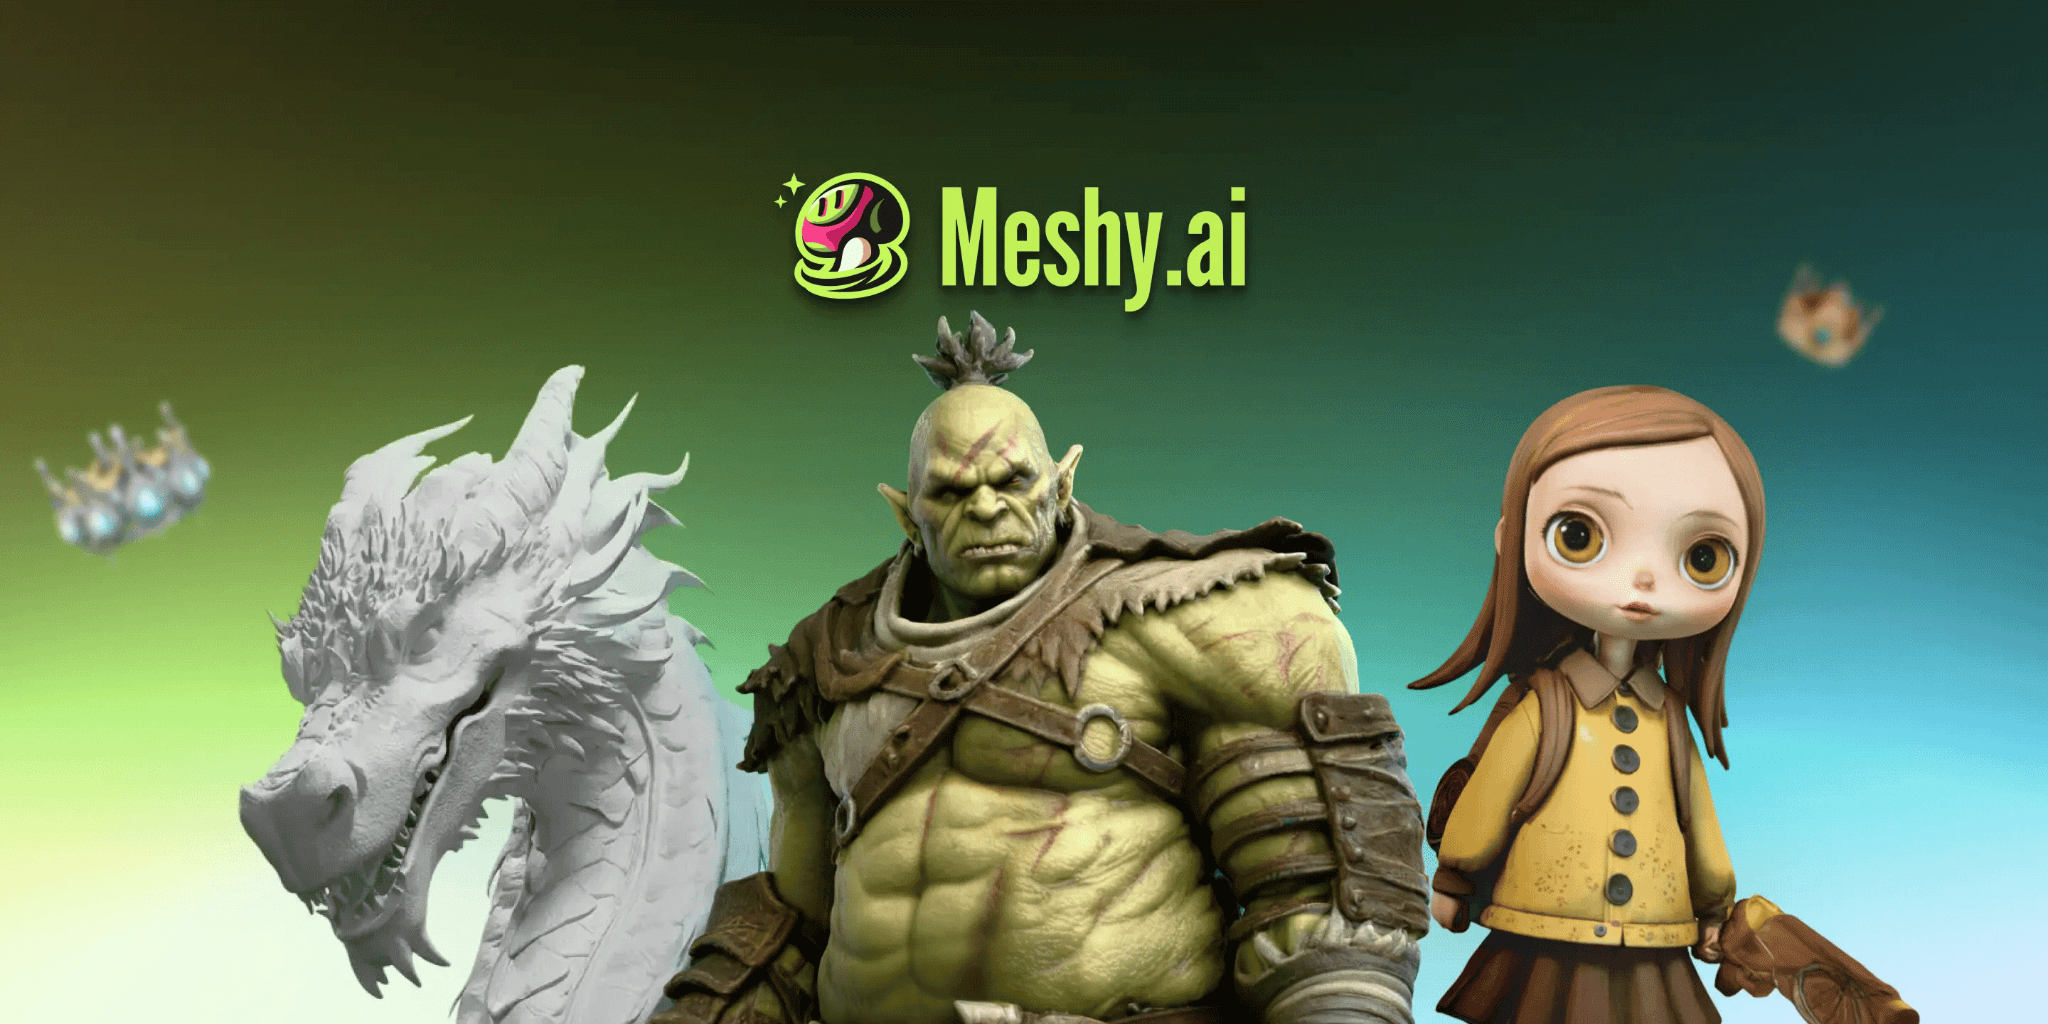
Modern pipelines bypass manual vertex modeling by converting flat illustrations directly into spatial assets using an optimized image to 3D pipeline. Platforms like Meshy AI automate the extraction process, generating low-poly, rigged meshes with full PBR textures in less than three minutes. This technical integration shifts skilled designer hours from routine edge-loop cleaning to high-value asset styling.
Why Are Legacy 3D Pipelines Bottlenecking Your Studio?
Your concept artists ship clean character turn-around sheets in a single afternoon. Then your asset pipeline grinds to a complete halt. 3D modelers spend 30 hours tracing topology, sliding edges, and cutting UV seams for one prop. This geometric drag drains your production budget fast.
How Do Image to 3D Engines Fix Production Drags?
Generative AI tools transform flat pixels into spatial volumes. They eliminate the blank-canvas phase for your modeling team. The engine interprets color values and edge contrasts to form raw polygonal hulls. Artists start their work with a solid base mesh instead of a single vertex.
Does Vertex Painting Still Have a Place in Production?
Early automated tools relied heavily on vertex painting. This method locked color data directly into the poly structure. It created messy files that game engines rejected. Modern pipelines completely replace vertex paints with discrete texture maps.
What Can a Text to 3D Tool Actually Achieve?
A text to 3D tool acts as an efficient exploratory sandbox. You type a prompt like “weathered sci-fi cargo container” into the generator. The platform builds four fast variations in seconds. Here’s the thing: natural language lacks precise spatial control. You cannot dictate an exact millimeter clearance or a specific silhouette curve with just words.
When Should You Switch to Image Inputs?
Switch to image inputs the moment your design receives official studio approval. Image-driven generation provides deterministic results because it treats the graphic as a direct blueprint. The AI locks down shapes, dimensions, and proportions directly from your reference art. This method eliminates creative guesswork from the engineering pipeline.
Verify your 2D reference images meet these baseline criteria before clicking generate:
- High-contrast lighting: Keep illumination flat to prevent baked shadow distortions.
- Isolated backgrounds: Remove cluttered backdrops to stop the AI from generating unwanted geometry.
- Transparent boundaries: Use clean alpha channels to establish explicit edge profiles instantly.
Why Do Dense Meshes Crash Real-Time Game Engines?
Raw AI generations often yield millions of messy triangles. These dense point clouds instantly tank frame rates in Unreal Engine or Unity. Your runtime environment requires tight polygon optimization to maintain stable performance. Modern generators now include built-in decimation controls to target specific performance budgets.
Can Low-Poly Mode Keep Texture Resolution Sharp?
Yes, because smart remeshing detaches texture mapping from geometric complexity. The system generates an ultra-low polygon count while preserving the original UV coordinate maps. You get a lightweight mesh that retains crisp visual fidelity through normal maps. This balance protects engine frame rates without sacrifices.
How to Auto-Bake Multi-Channel PBR Materials Natively
Flat color skins look amateurish under dynamic engine lighting. Real objects possess distinct roughness, specular reflections, and microscopic surface depths. Advanced generation models extract these traits directly from your 2D source artwork. They split the visual data into separate, high-resolution texture maps instantly.
Should You Trust Automated UV Atlasing for Characters?
Trust it for background props and secondary characters first. Automated unwrapping sometimes places seams across visible areas like a character’s face. For hero assets, you will still want to perform a manual seam pass in Blender. The AI still saves you hours by doing the heavy lifting.
Notice how the automatic unwrapping layout preserves a uniform polygon distribution across high-frequency profile geometry, which minimizes texture stretching.
Which AI Generator Fits Your Specific Studio Workflow?
Different projects demand distinct performance profiles. A mobile game needs aggressive polygon budgets. A cinematic trailer requires massive texture resolutions. Choosing the wrong tool wastes precious pipeline integration time.
Epic Games technical lead Marcus Vance issued a pipeline brief in January 2026. He noted that automated PBR generation reduces asset drift by 70 percent across distributed art teams.
| AI 3D Platform | Generation Velocity | Max Texture Map Target | Core Pipeline Optimization Feature |
| Meshy AI | 60–180 Seconds | 4K PBR Channels | Integrated Skeletal Auto-Rigging Engine |
| Tripo AI | 8–15 Seconds | 2K Base Maps | Quad-Dominated Mesh Retopology Nodes |
| Rodin AI | 5–10 Minutes | 4K Photographic Skins | High-Density Filmic Pre-Visualization Meshes |
| Tencent Hunyuan3D v2.1 | Variable Local Speed | 2K Diffuse Only | Open-Weight ComfyUI Local Nodes |
5 Production Hurdles That Break Automated Geometry
Every automated system has real operational boundaries. If you don’t know where the geometry cracks, you will waste hours debugging broken assets. Here are five major failure modes we encounter regularly during production runs:
- Thin-feature shearing: Narrow blades or antennas merge into blocky triangles.
- Concave occlusion voids: Deep interior pockets generate chaotic, non-manifold geometry.
- High-frequency noise confusion: Intricate filigree patterns cause surface texture buckling.
- Specular reflection mirroring: Baked highlights in source images distort surface normals.
- Symmetrical leg merging: Characters with touching ankles generate joined, un-riggable geometry.
What Happens When Your Mesh Generates Hidden Internal Faces?
Hidden internal faces destroy rendering efficiency. Slicing engines try to print these invisible walls, causing internal structural collapse. Game engines still calculate their rendering draw calls, wasting GPU cycles on completely hidden geometry. You must purge these faces before exporting.
How Does Meshy AI Handle Non-Manifold Geometry?
Meshy AI deploys an automated mesh-repair pass during the decimation stage. The algorithm snaps open border loops shut and dissolves isolated floating vertices. It ensures the final mesh behaves predictably when imported into downstream layout tools. This cleanup process protects your pipeline from geometric runtime errors.
How Does Auto-Rigging Save Hours of Skeletal Placement?
Placing bones and painting skin weights is tedious work. If you misplace a joint by two centimeters, the character’s arm deforms unnaturally during animation loops. Automated rigging engines interpret human and creature anatomy in real time. They place precise structural skeletons inside your custom meshes instantly.
Which Export Format Protects Your Skeletal Weight Paints?
Always choose FBX or GLB formats when exporting rigged models. These containers embed your skeletal bone hierarchies and skin weight values directly into the asset file. Avoid OBJ files for animated assets. The OBJ format strips out all rigging information completely, leaving you with a static mesh.
Observe how full-pipeline platforms coordinate direct manufacturing routing screens alongside real-time design assets, tying digital creation directly to physical hardware outputs.
Why Watertight Meshes Matter for Additive Manufacturing
3D printing requires absolute physical consistency. A game engine can render an infinitely thin single-sided polygon without issues. A 3D printer slicer will completely freeze when it encounters that same open boundary loop. Your models must form a solid, watertight volume before touching physical hardware.
Why Do Dense Triangles Fail Slicer Software Validation?
Slicers like Bambu Studio slice geometry into ultra-thin two-dimensional layers. If your mesh contains millions of unoptimized triangles, the slicing engine run-time climbs exponentially. Non-manifold edges create floating paths that lead to bird-nesting print failures. Proper optimization keeps your print success rates high.
Key Takeaways
- Image-to-3D pipelines eliminate raw vertex blocking, saving up to 30 production hours per asset.
- Multi-view generation prevents flat backside deformities by synthesizing alternate orthographic angles automatically.
- These tools work best when treated as pipeline acceleration, not as a replacement for modeling skills.
Conclusion
Integrating an automated image to 3D pipeline isn’t about replacing your art team. It is about saving them from the absolute misery of mindless edge-loop routing. Here is the trade-off: you will still need an experienced artist to handle clean seam placement on hero assets. But for filling entire world spaces with high-quality secondary props, the speed advantage is undeniable. Stop building every base mesh from scratch.
FAQs
Can I export Meshy AI models directly into Unreal Engine?
Yes. You can export generated assets in FBX or GLB formats. These containers preserve all your skeletal auto-rigging bone weights and high-resolution PBR textures. They import cleanly into Unreal Engine 5 content browsers without requiring manual file conversions or complex remapping.
Why does my text to the 3D tool generate deformed models?
Text prompts lack deterministic spatial controls. Natural language relies on probabilistic guesses rather than specific geometric blueprints. If you need clean shapes, switch to an image input workflow. Providing an isolated 2D concept sheet forces the engine to respect explicit proportions and silhouettes.
Do AI-generated meshes work for desktop 3D printing?
Yes, provided you export using watertight formats like 3MF or STL. Platforms like Meshy AI feature automated mesh-repair layers that close open boundary loops. Running a quick validation check inside a slicer like Bambu Studio ensures error-free toolpath generation.
How do I fix texture stretching on automated UV maps?
Sharp or complex surfaces can cause automated algorithms to slice UV islands across visible areas. To fix this, export the low-poly mesh as an OBJ file into Blender. Perform a quick manual seam unwrapping pass, then bake the original AI textures onto your clean layout.